|
|
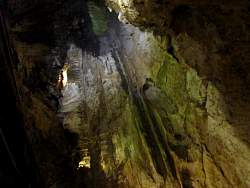 |
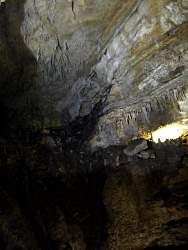
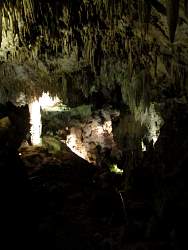
The height of the cavern along this route dwarfed what we saw in the Big Room the previous day. Because of the dim light and the long distance to the walls/ceilings, very few photos turned out
|
|
|
|
|
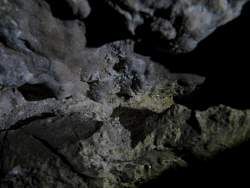 |
Sparkles of crystals in the rock
|
|
|
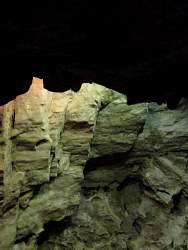 |
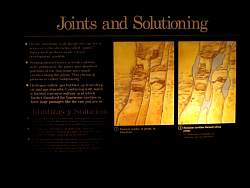
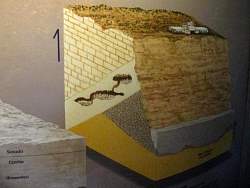
This shows the joints explained by the preceding sign
|
|
|
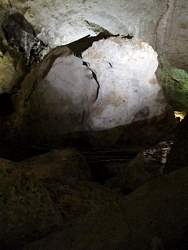 |
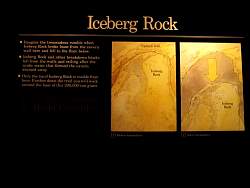
The top of Iceberg Rock. The light spot near the lower-right corner of the photo is where our tunnel proceeds past this rock.
|
|
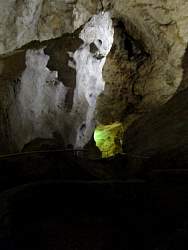 |
Another view of Iceberg Rock. You can see the railing along the path a little below center
|
|
 |
Green Lake Room
|
|
 |
Another view of Green Lake Room
|
|
|
|
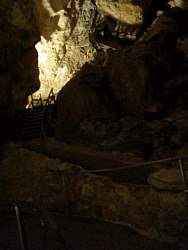 |
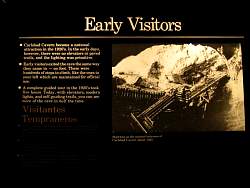
It's hard to see the wooden steps and platforms used by the early visitors in this photo
|
|
|
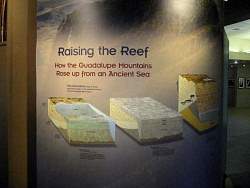 |
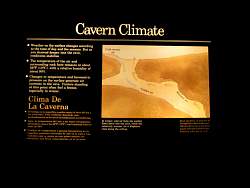
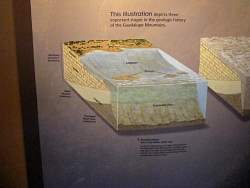
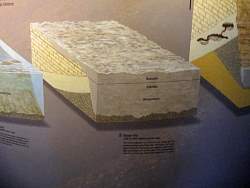
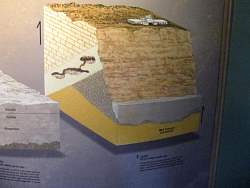
Back on the surface, in the visitors center, and explanation of how the caverns formed.
|
|
|
|
|
|
|
|